|
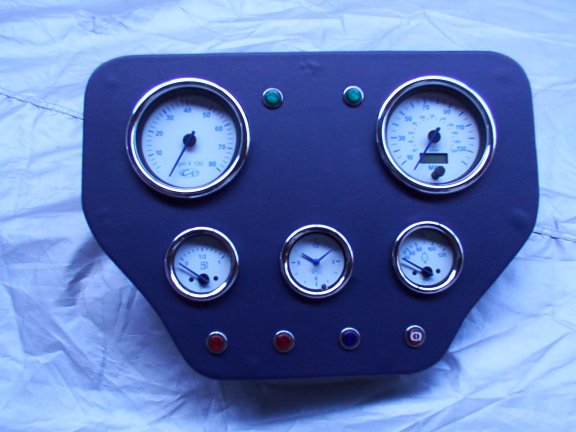
21/02/03 I decided that as a winter project I would change the dashboard, with a selection of gauges from www.Greengauges.com. Also as I was not sure about the condition of the engine, (well it had done 135000 miles in the Sierra !). So decided to pull out the engine, and give it a full workover, ie re-bore, crank grind, new head etc. So first things first and out with the existing dashboard and cut a 'hole' in the center to take an 'inset' I intend to make from 4mm ply and cover with blue leathercloth. A few careful measurements later and we have a 'blank' ready to take the gauges I had selected, Rev Counter, Speedo, Clock, Water Temp and Fuel. All with white faces, blue lettering and blue needles, looks quite nice actually. I also got hold of some dashboard warning lights at a recent classic car show, ie indicator, high beam , oil, ign, etc.. Once the blank was covered it was a simple case of inserting the gauges and connecting up the 'feeds' at the back.
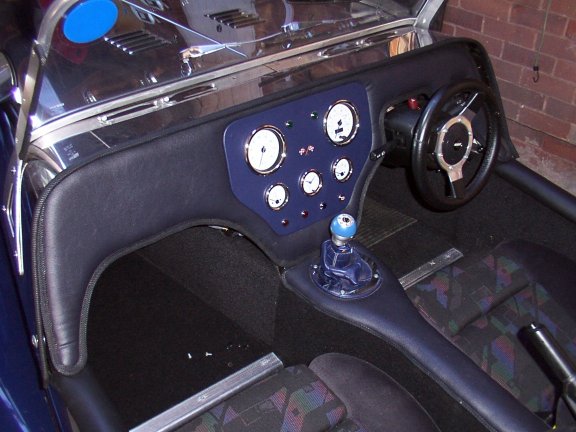
Looks quite nice back in the 2B..
Now the daunting bit how to find the correct feeds from the original sierra loom and connect to the new gauges and lights. I found the best method was to trace the printed pcb board on the back of the sierra gauges and double check with the haynes manual. It took a while but I was fairly confident the connections were okay. The instructions for the gauge's were quite clear just a bit of calculation needed to calibrate the electronic speedo, ie number of revolutions of the wheel per mile * number of magnets used on the half shaft for the reed switch pick-up. Then you set a number of digital switches on the back of the speedo, and that;'s it...., well we shall see. Slight cock up here, when I went for a test ride the speedo was obviously reading fast, then I realised the problem, I had calibrated the speedo for Kilometers Hour, Dohh. Adjusted the calibration and all is now fine.
|
![]()